
API keys authenticate every request you make to Spro. You'll need one before calling the API — see Quickstart for your first request.
How API keys work
- Keys are issued per workspace environment. Each workspace gets its own keys, so development, staging, and production can be isolated from each other.
- Every key starts with
spro-— it's the prefix you'll see in your dashboard, and an easy way to spot a Spro key in your code or environment variables. - Keys carry the permissions of the workspace they belong to, so treat them like passwords.
Create an API key
1
Open the API Keys page
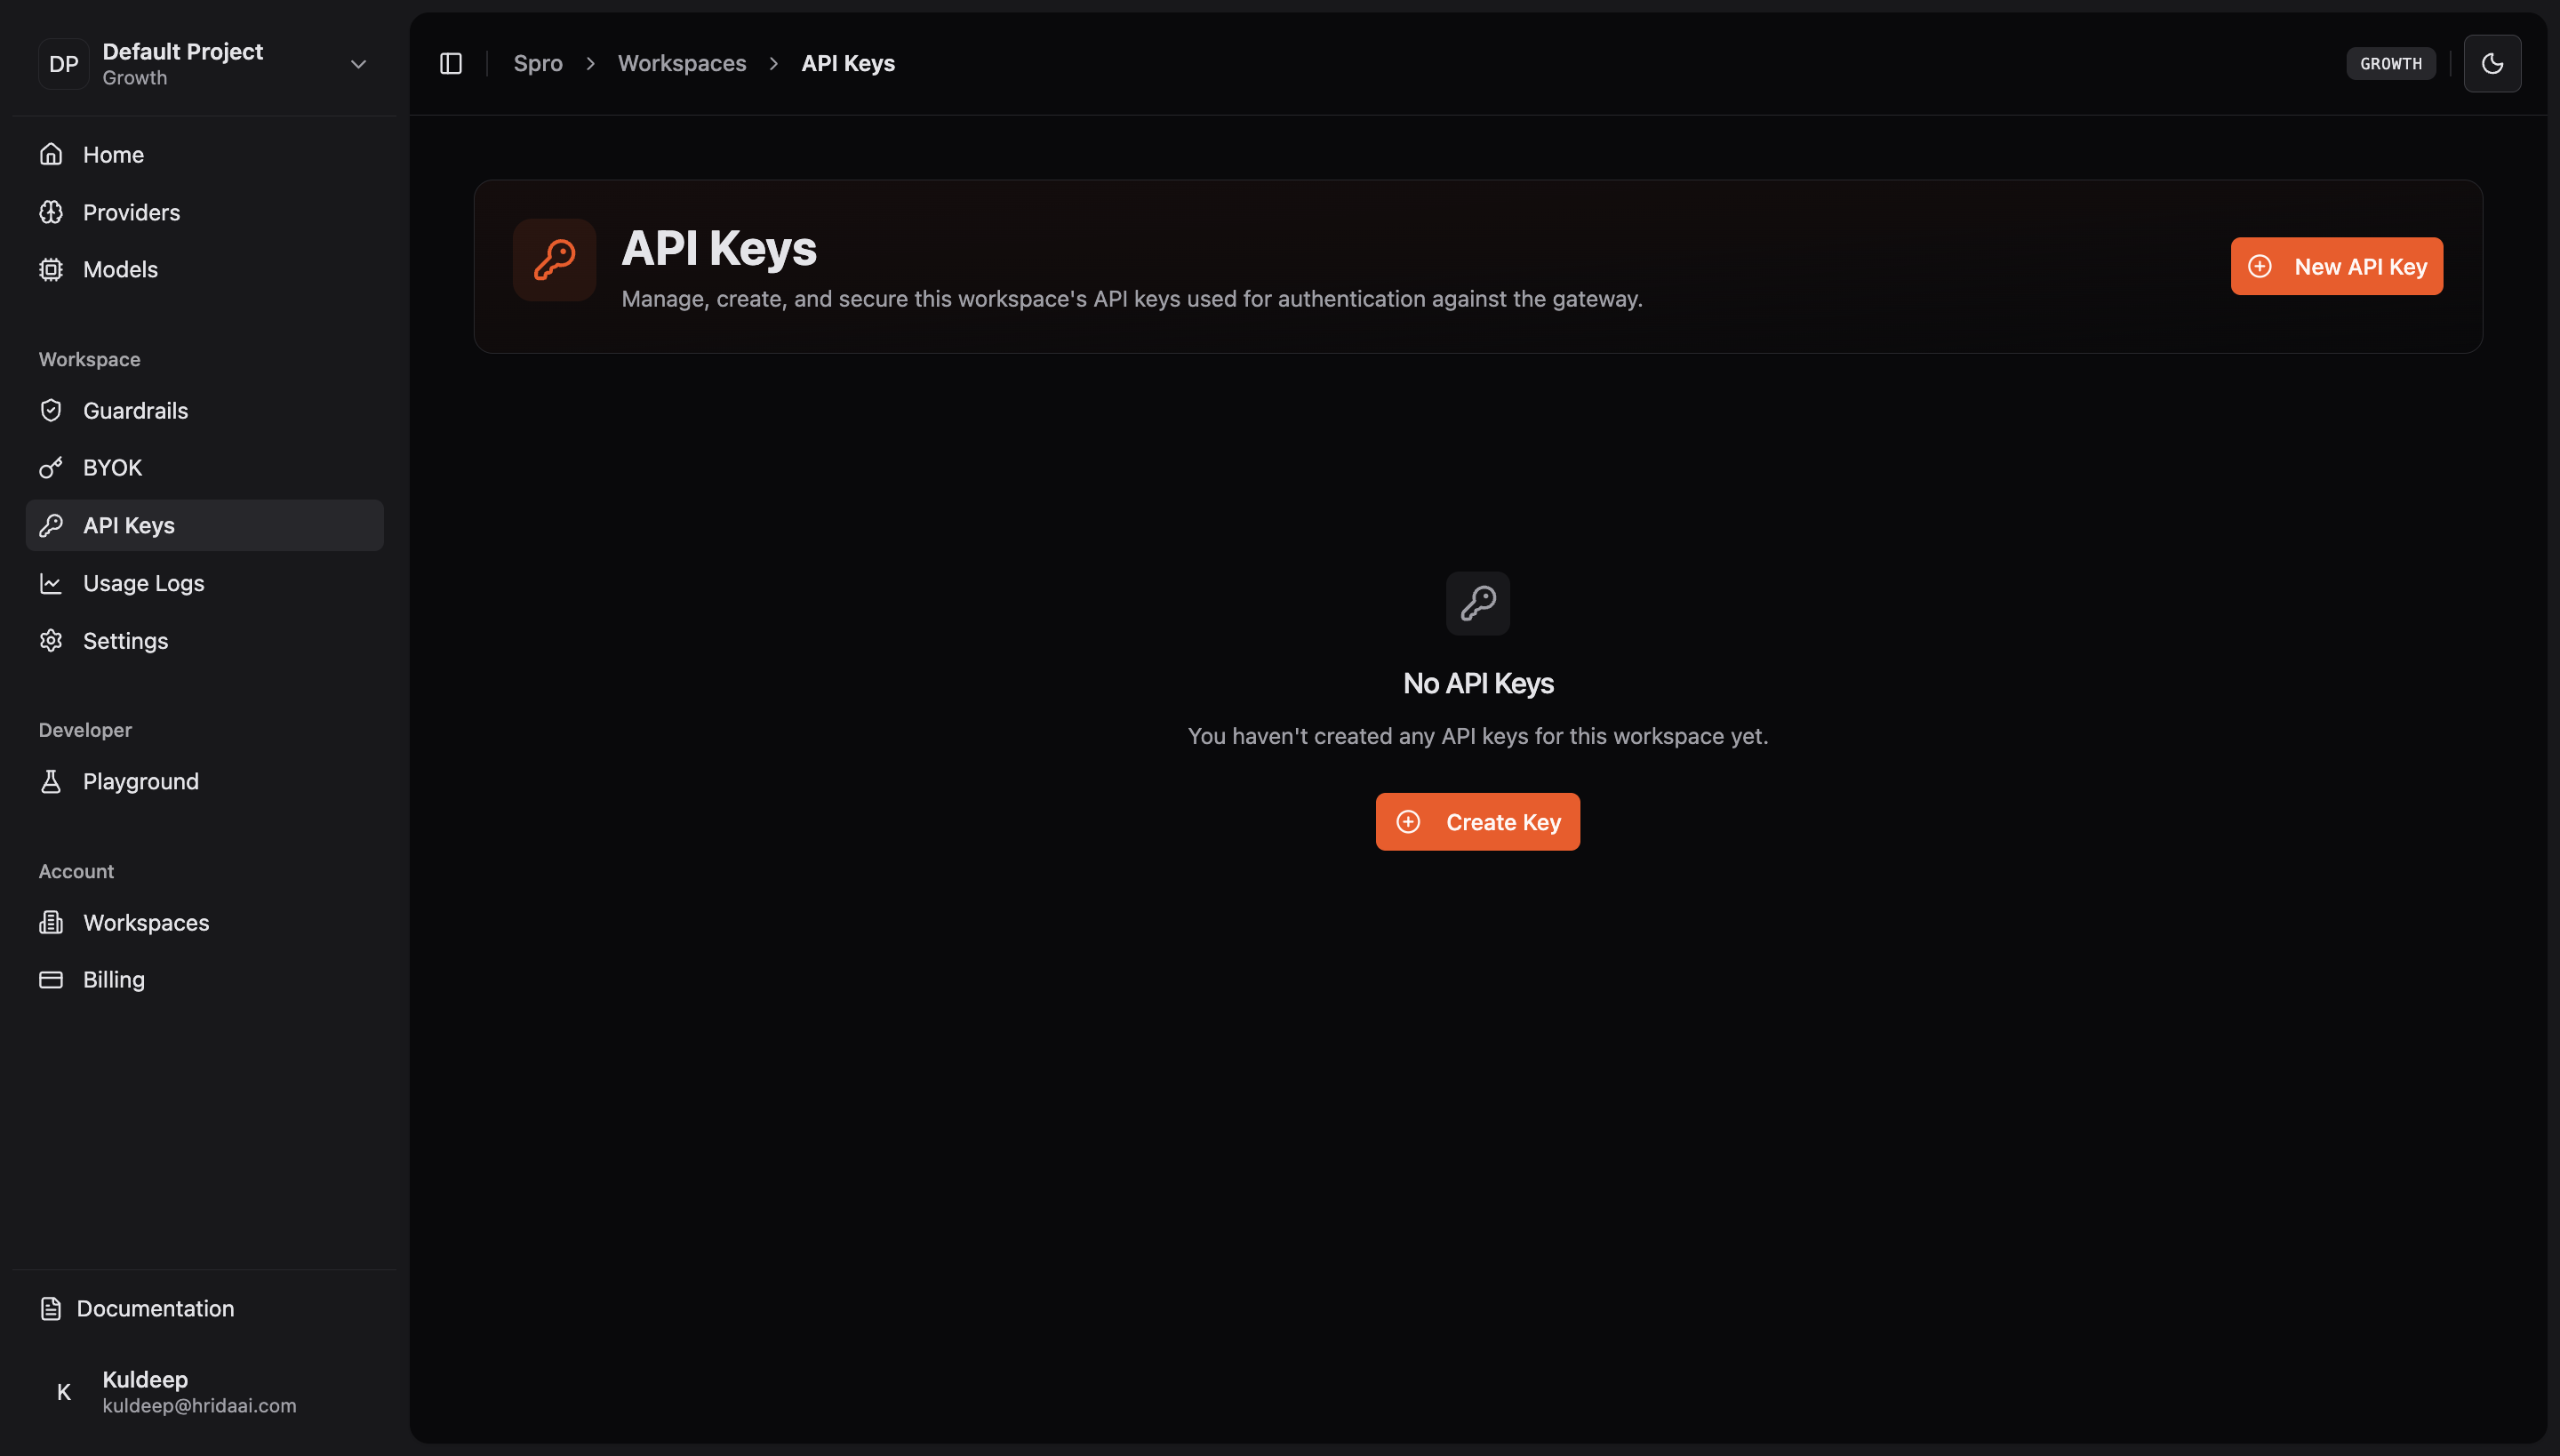
Go to spro.hridaai.com, sign up or log in, and select API Keys under your workspace.
2
Create the key
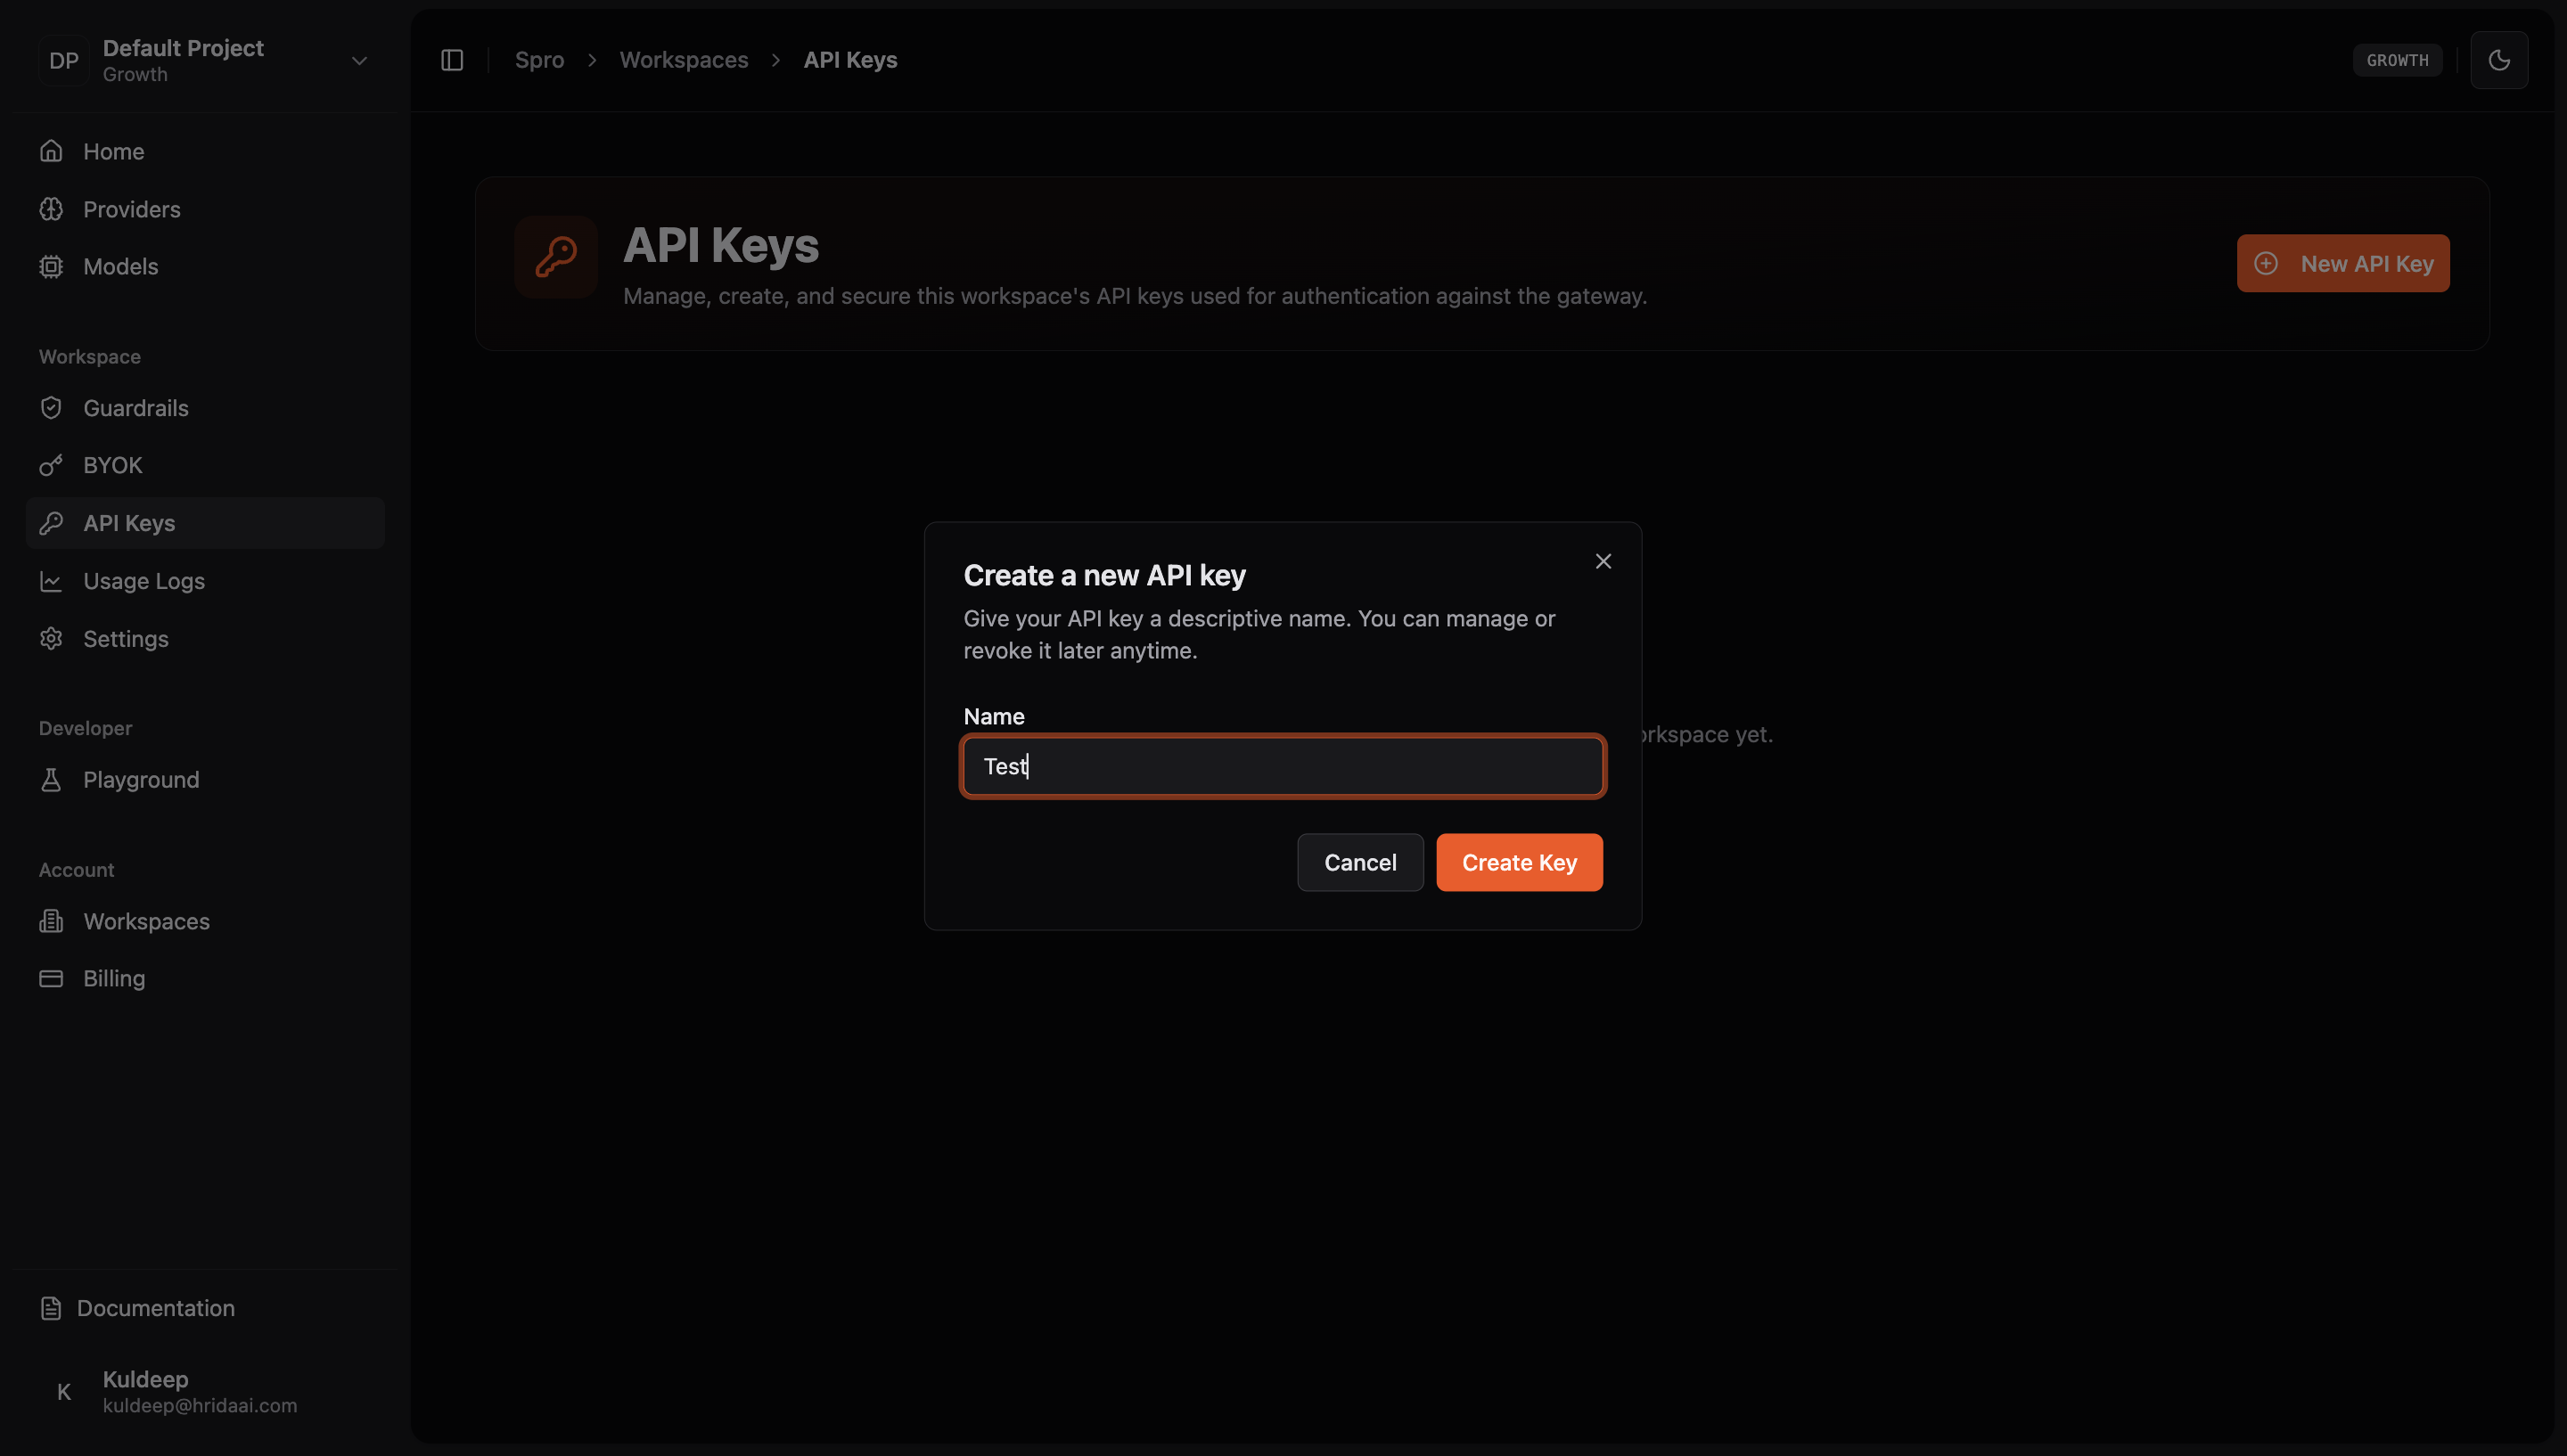
Click New API Key and give your key a descriptive name — e.g. staging-backend or ci-pipeline — so you can tell it apart later.
3
Copy your key
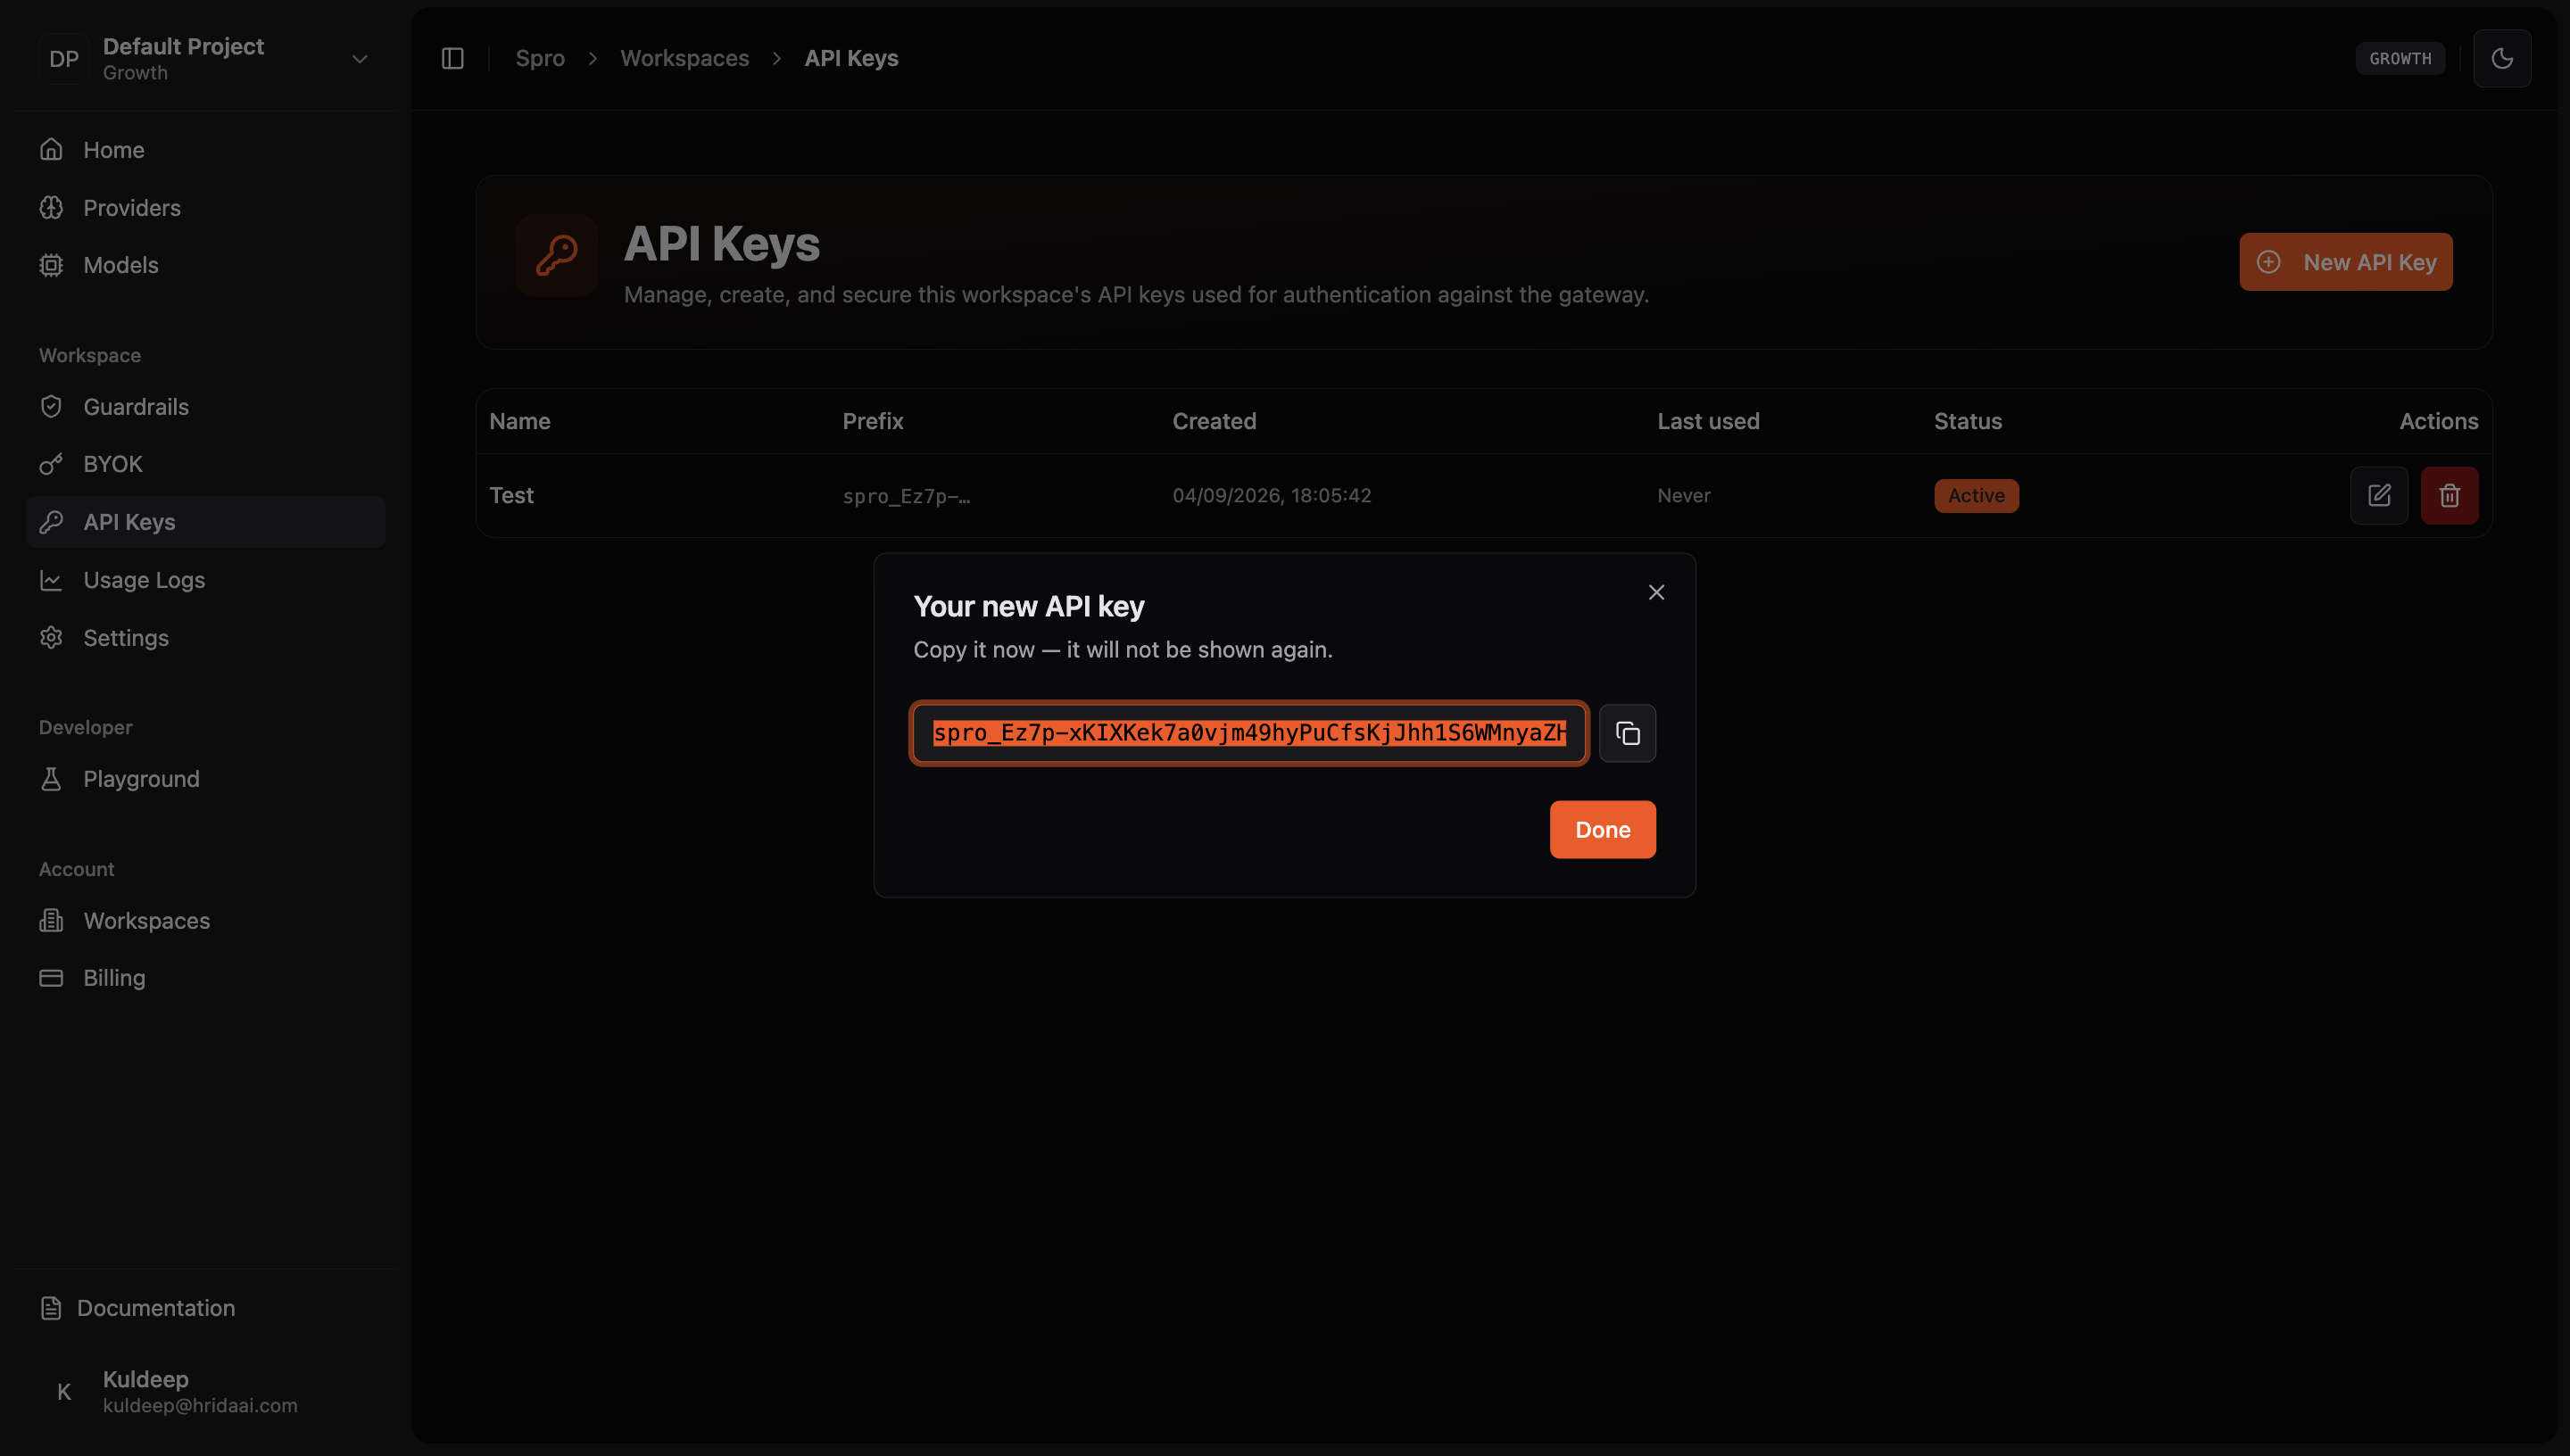
Copy the key immediately — it starts with spro- and is shown only once. If you lose it, you'll need to delete the key and create a new one.
4
Your key is listed
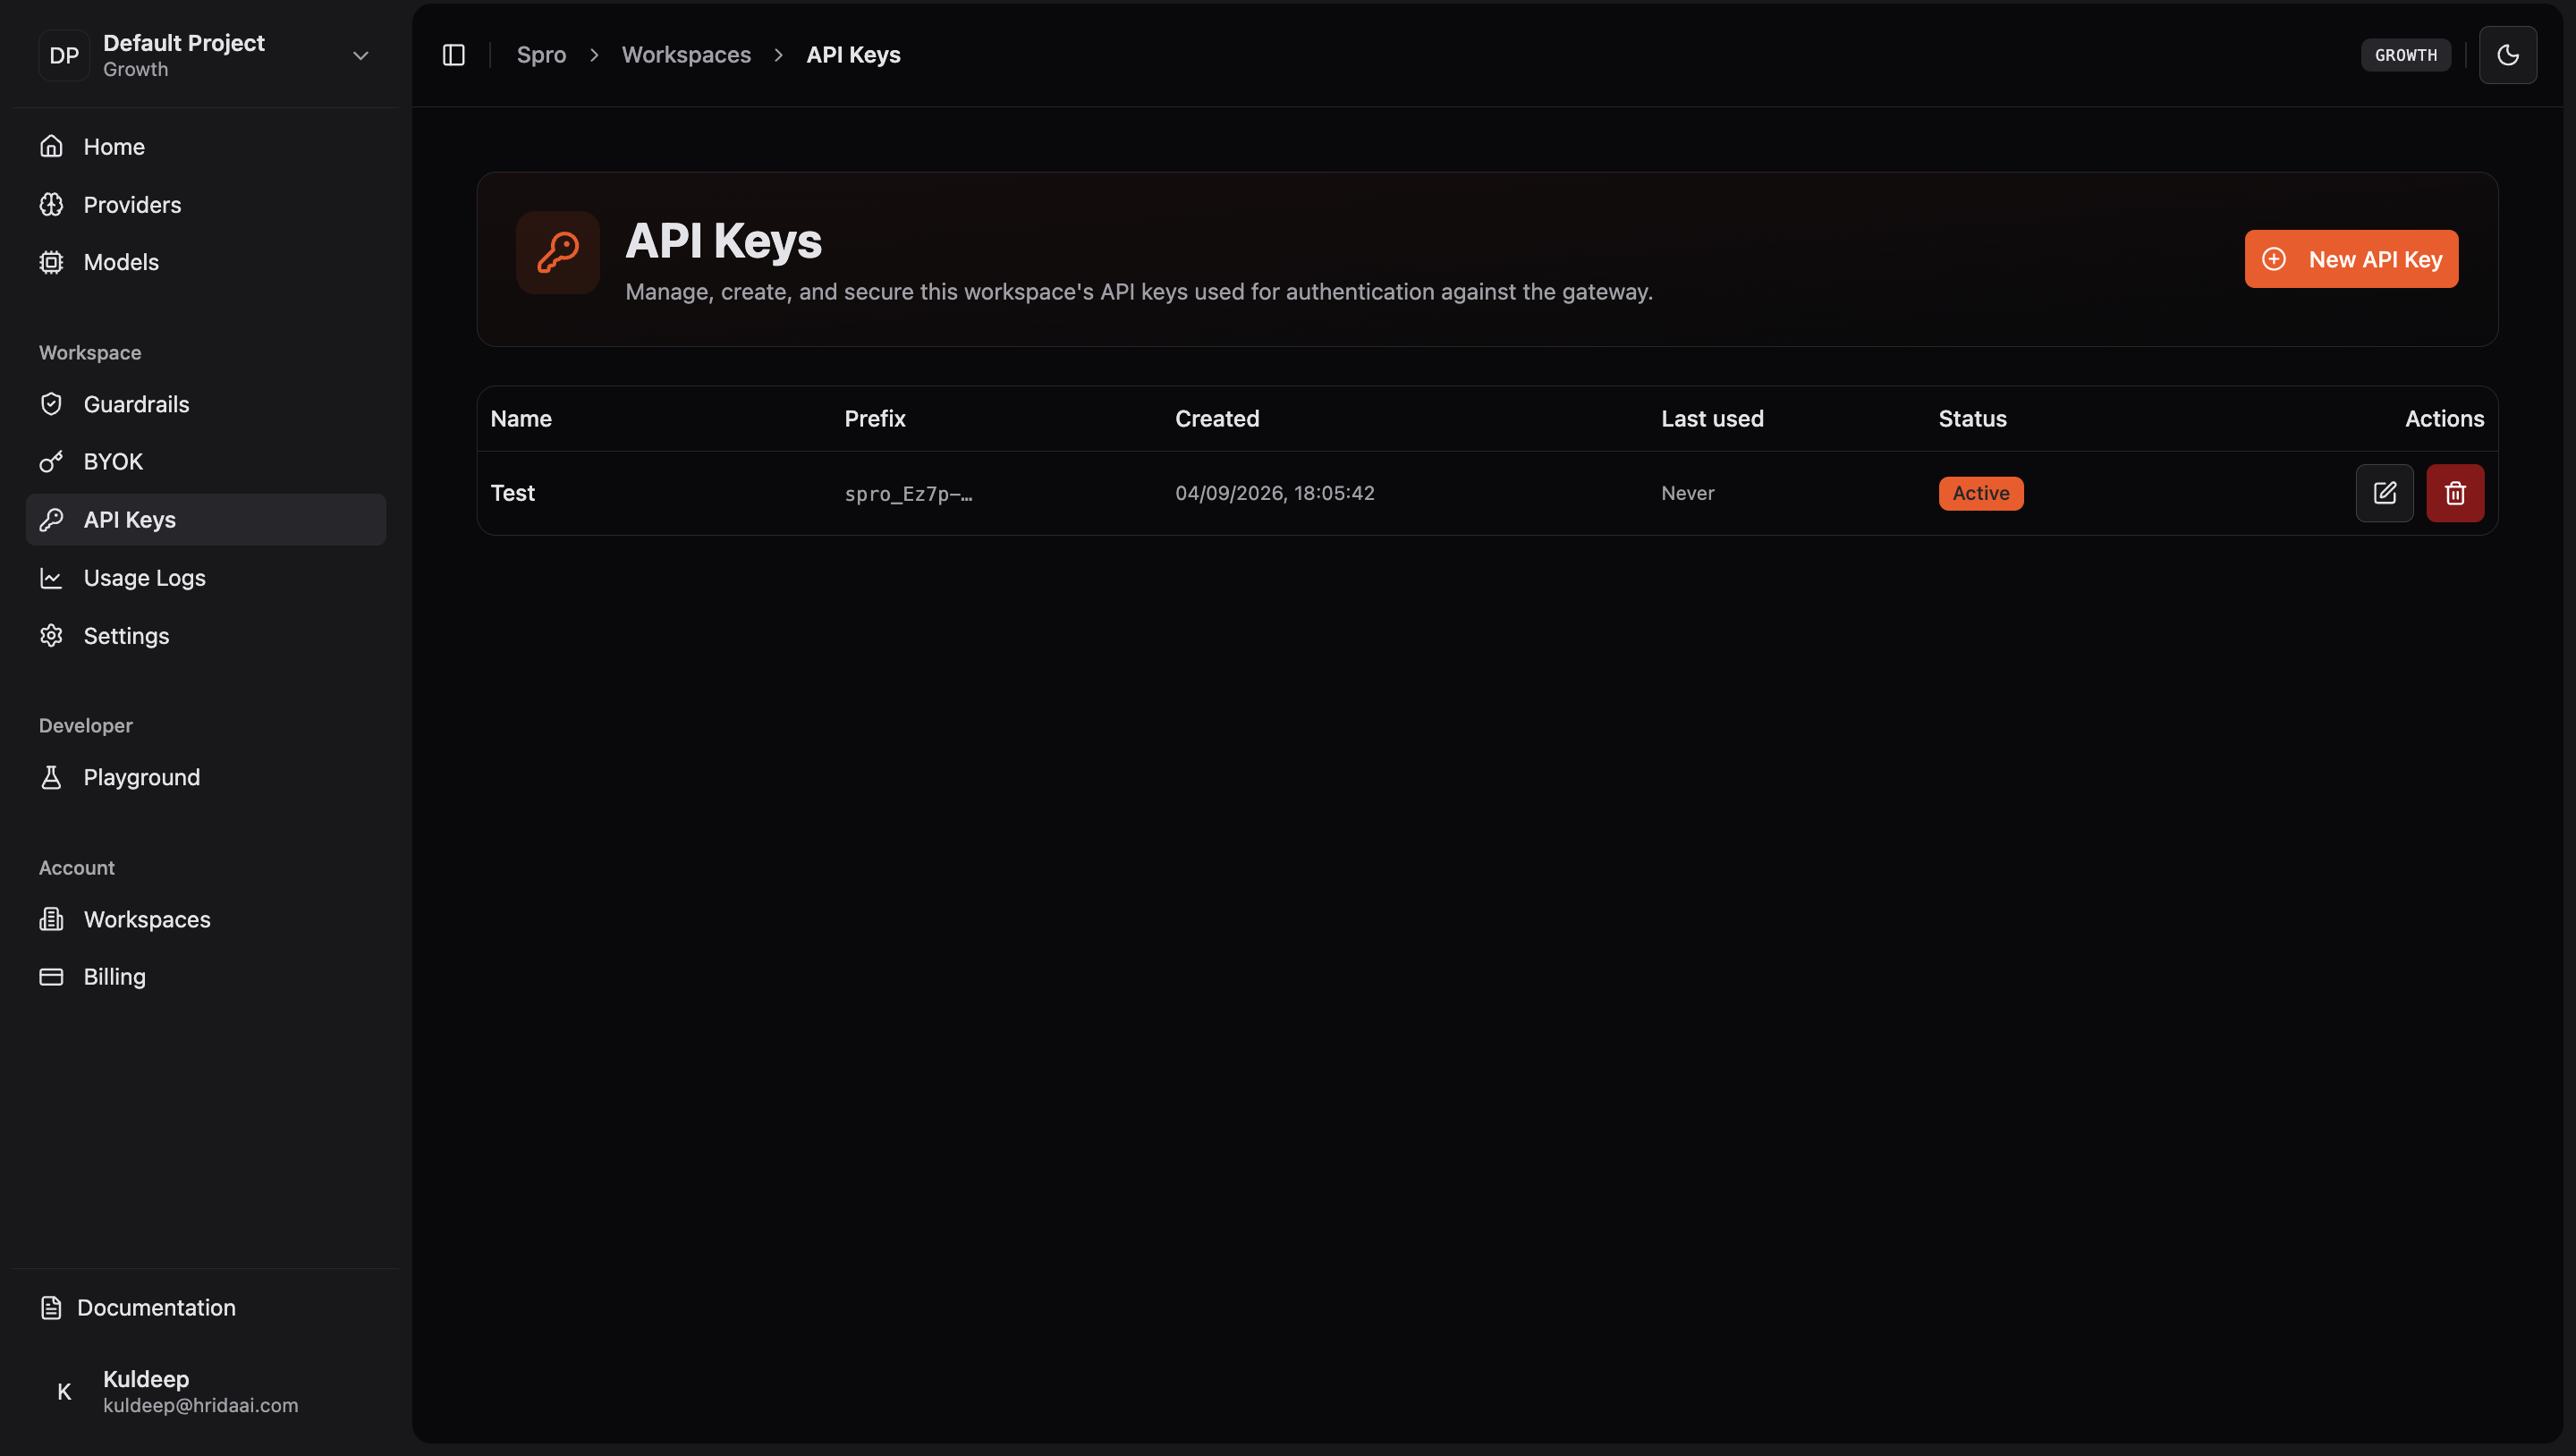
Your key now appears in the list with its name, prefix, created date, last-used time, and status.
Warning
Keep your API key secure. Never commit it to version control or share it publicly.
Manage your keys
From the API Keys page you can:
- Edit the name — use the edit action next to a key to rename it at any time.
- Delete a key — the delete action immediately revokes access. Anything still calling the API with a deleted key will receive a
401 Unauthorizedresponse.